How to Sear Steak Like a Chef

Caramelized, juicy, and perfectly tender every time

Searing steak on griddle

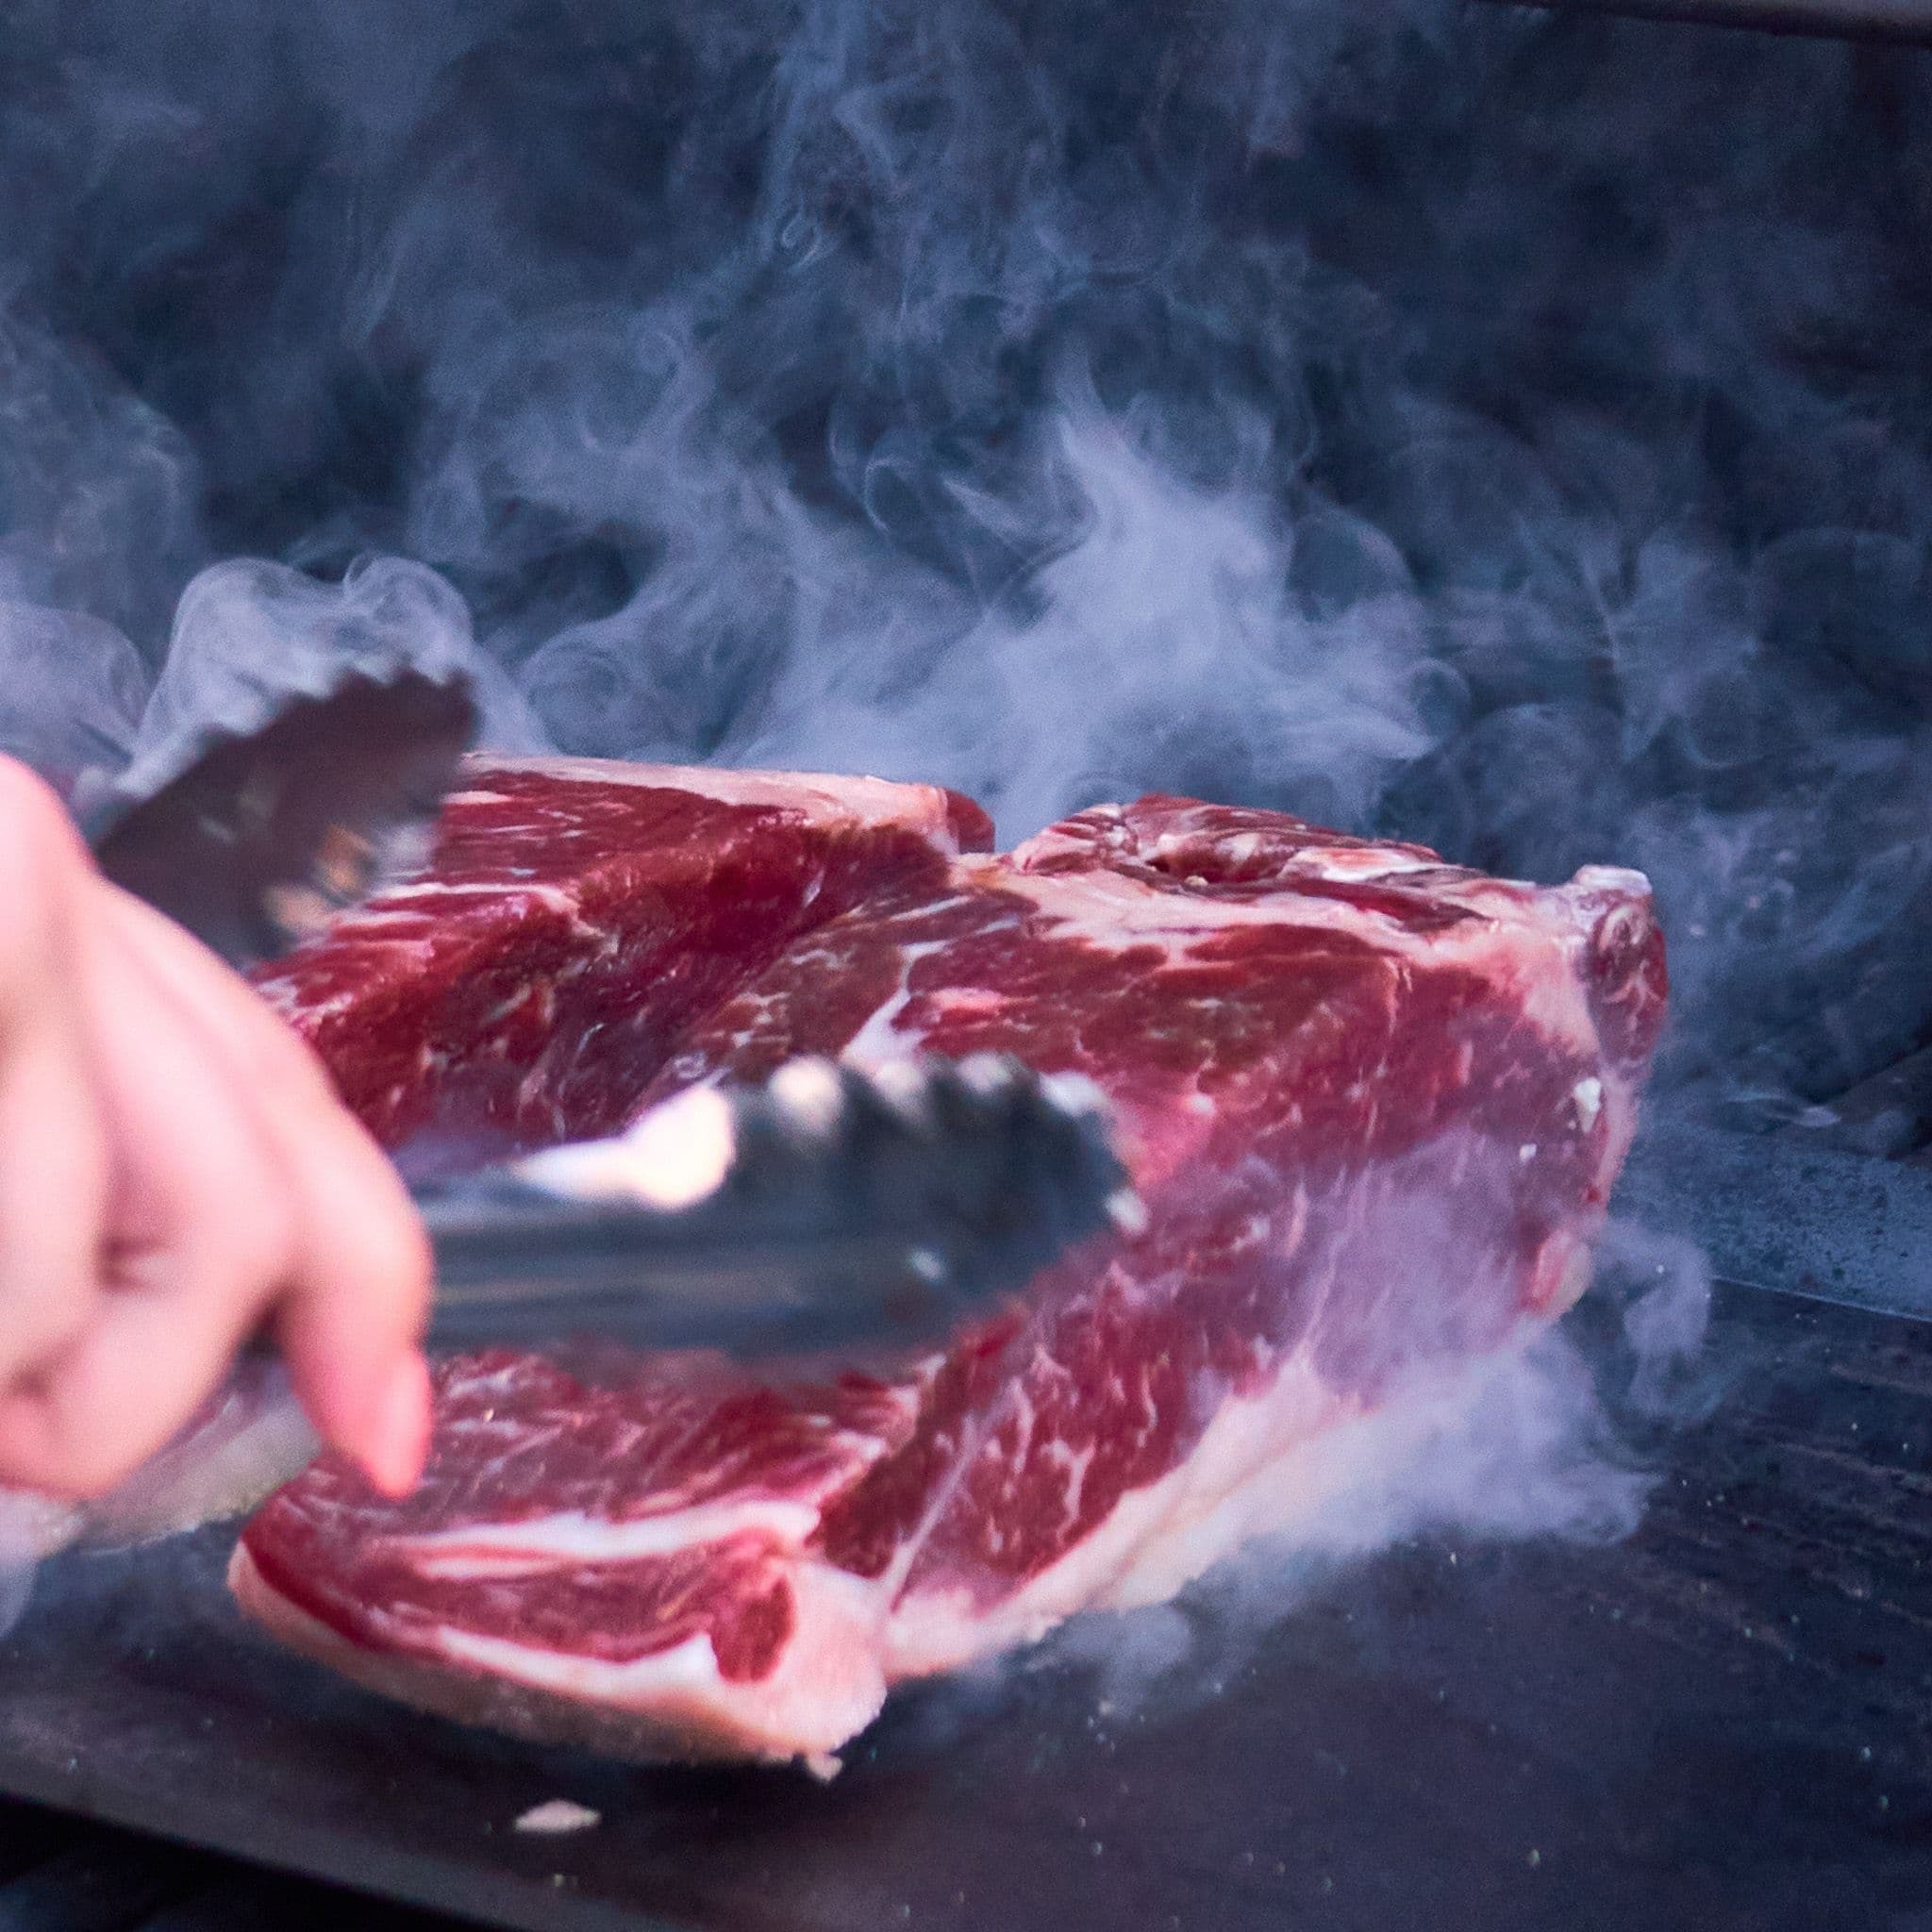
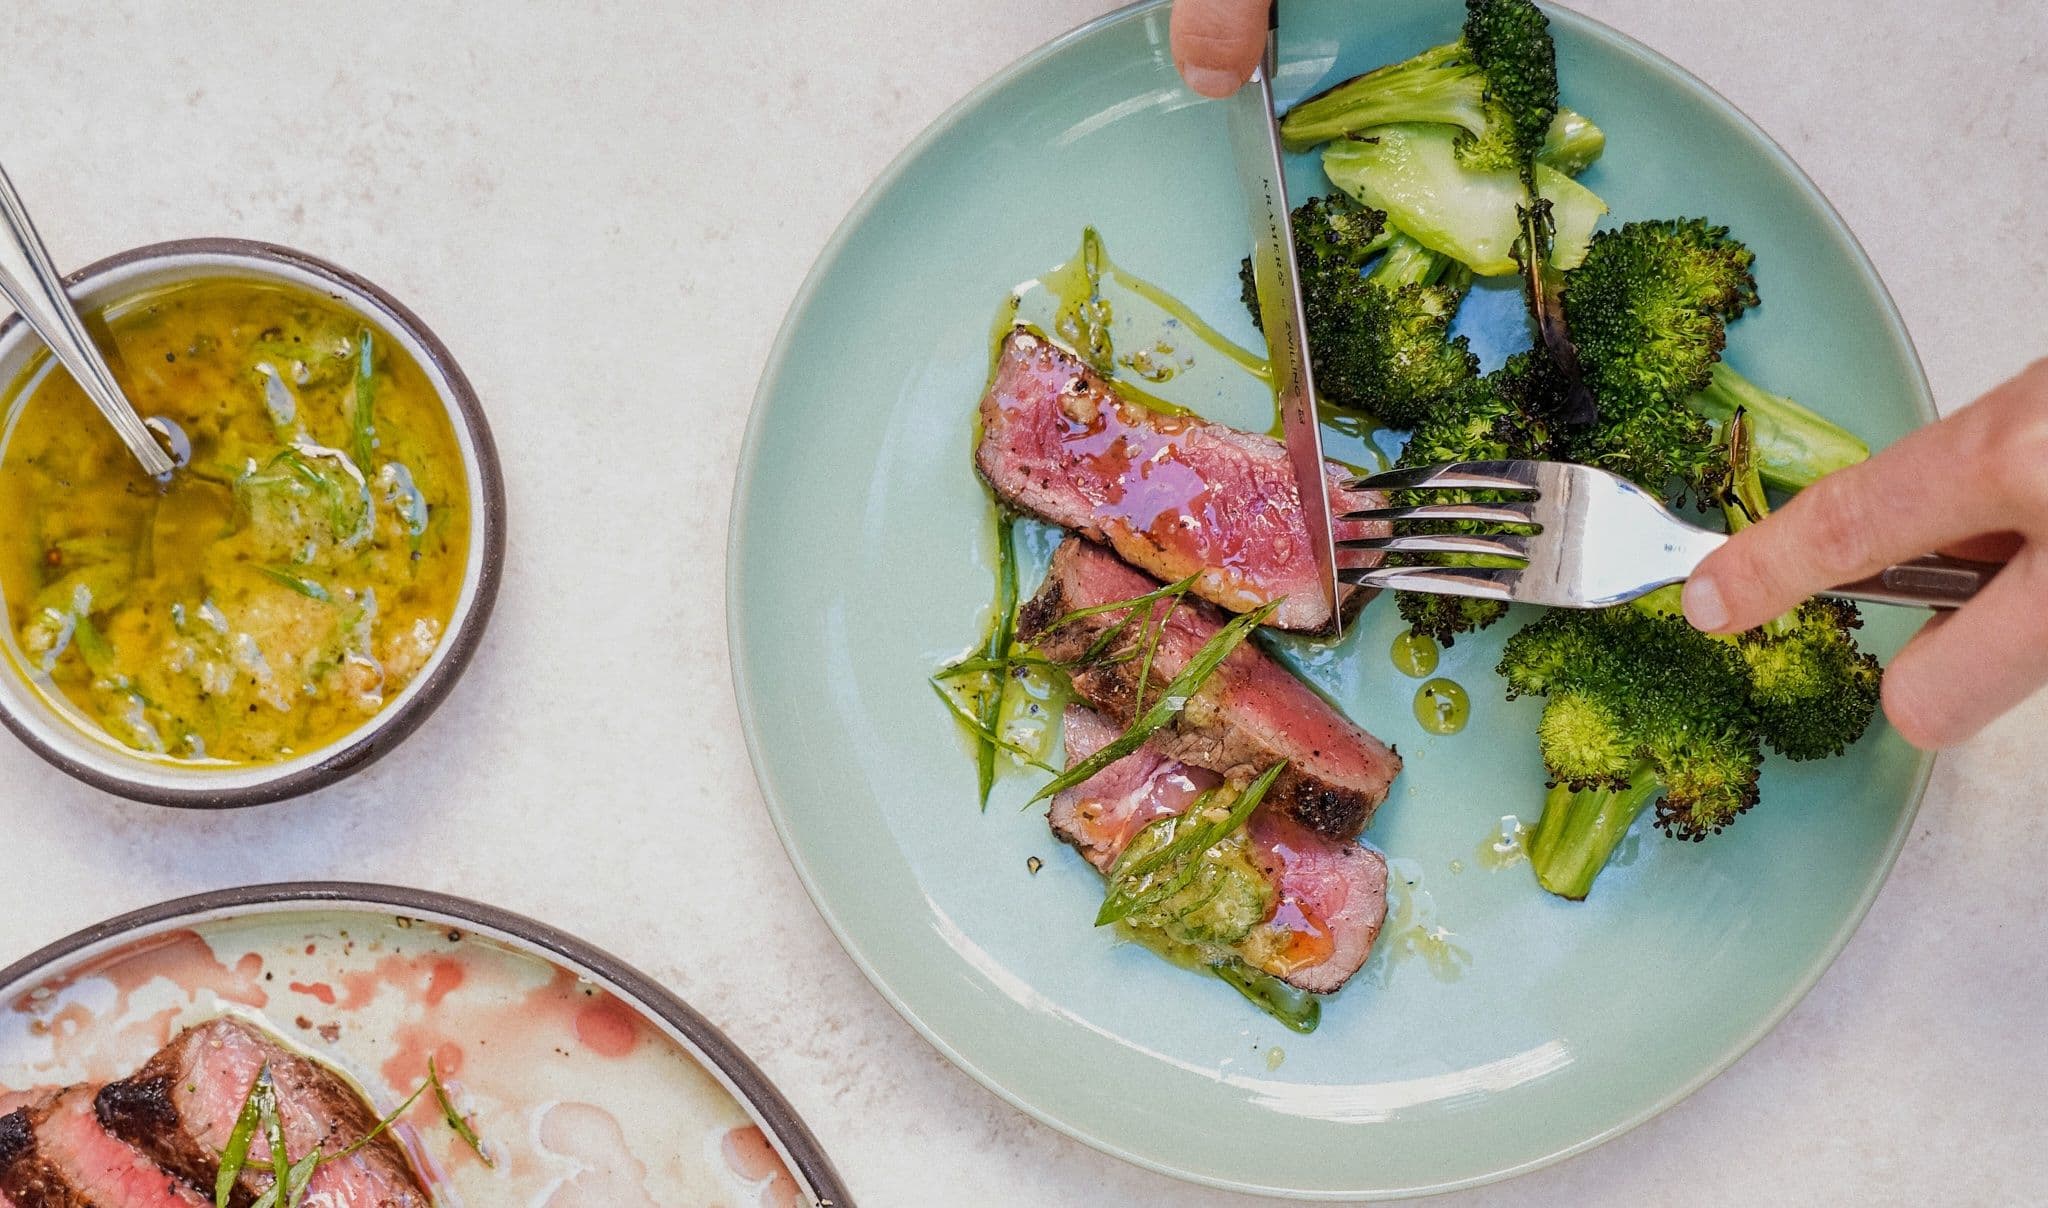
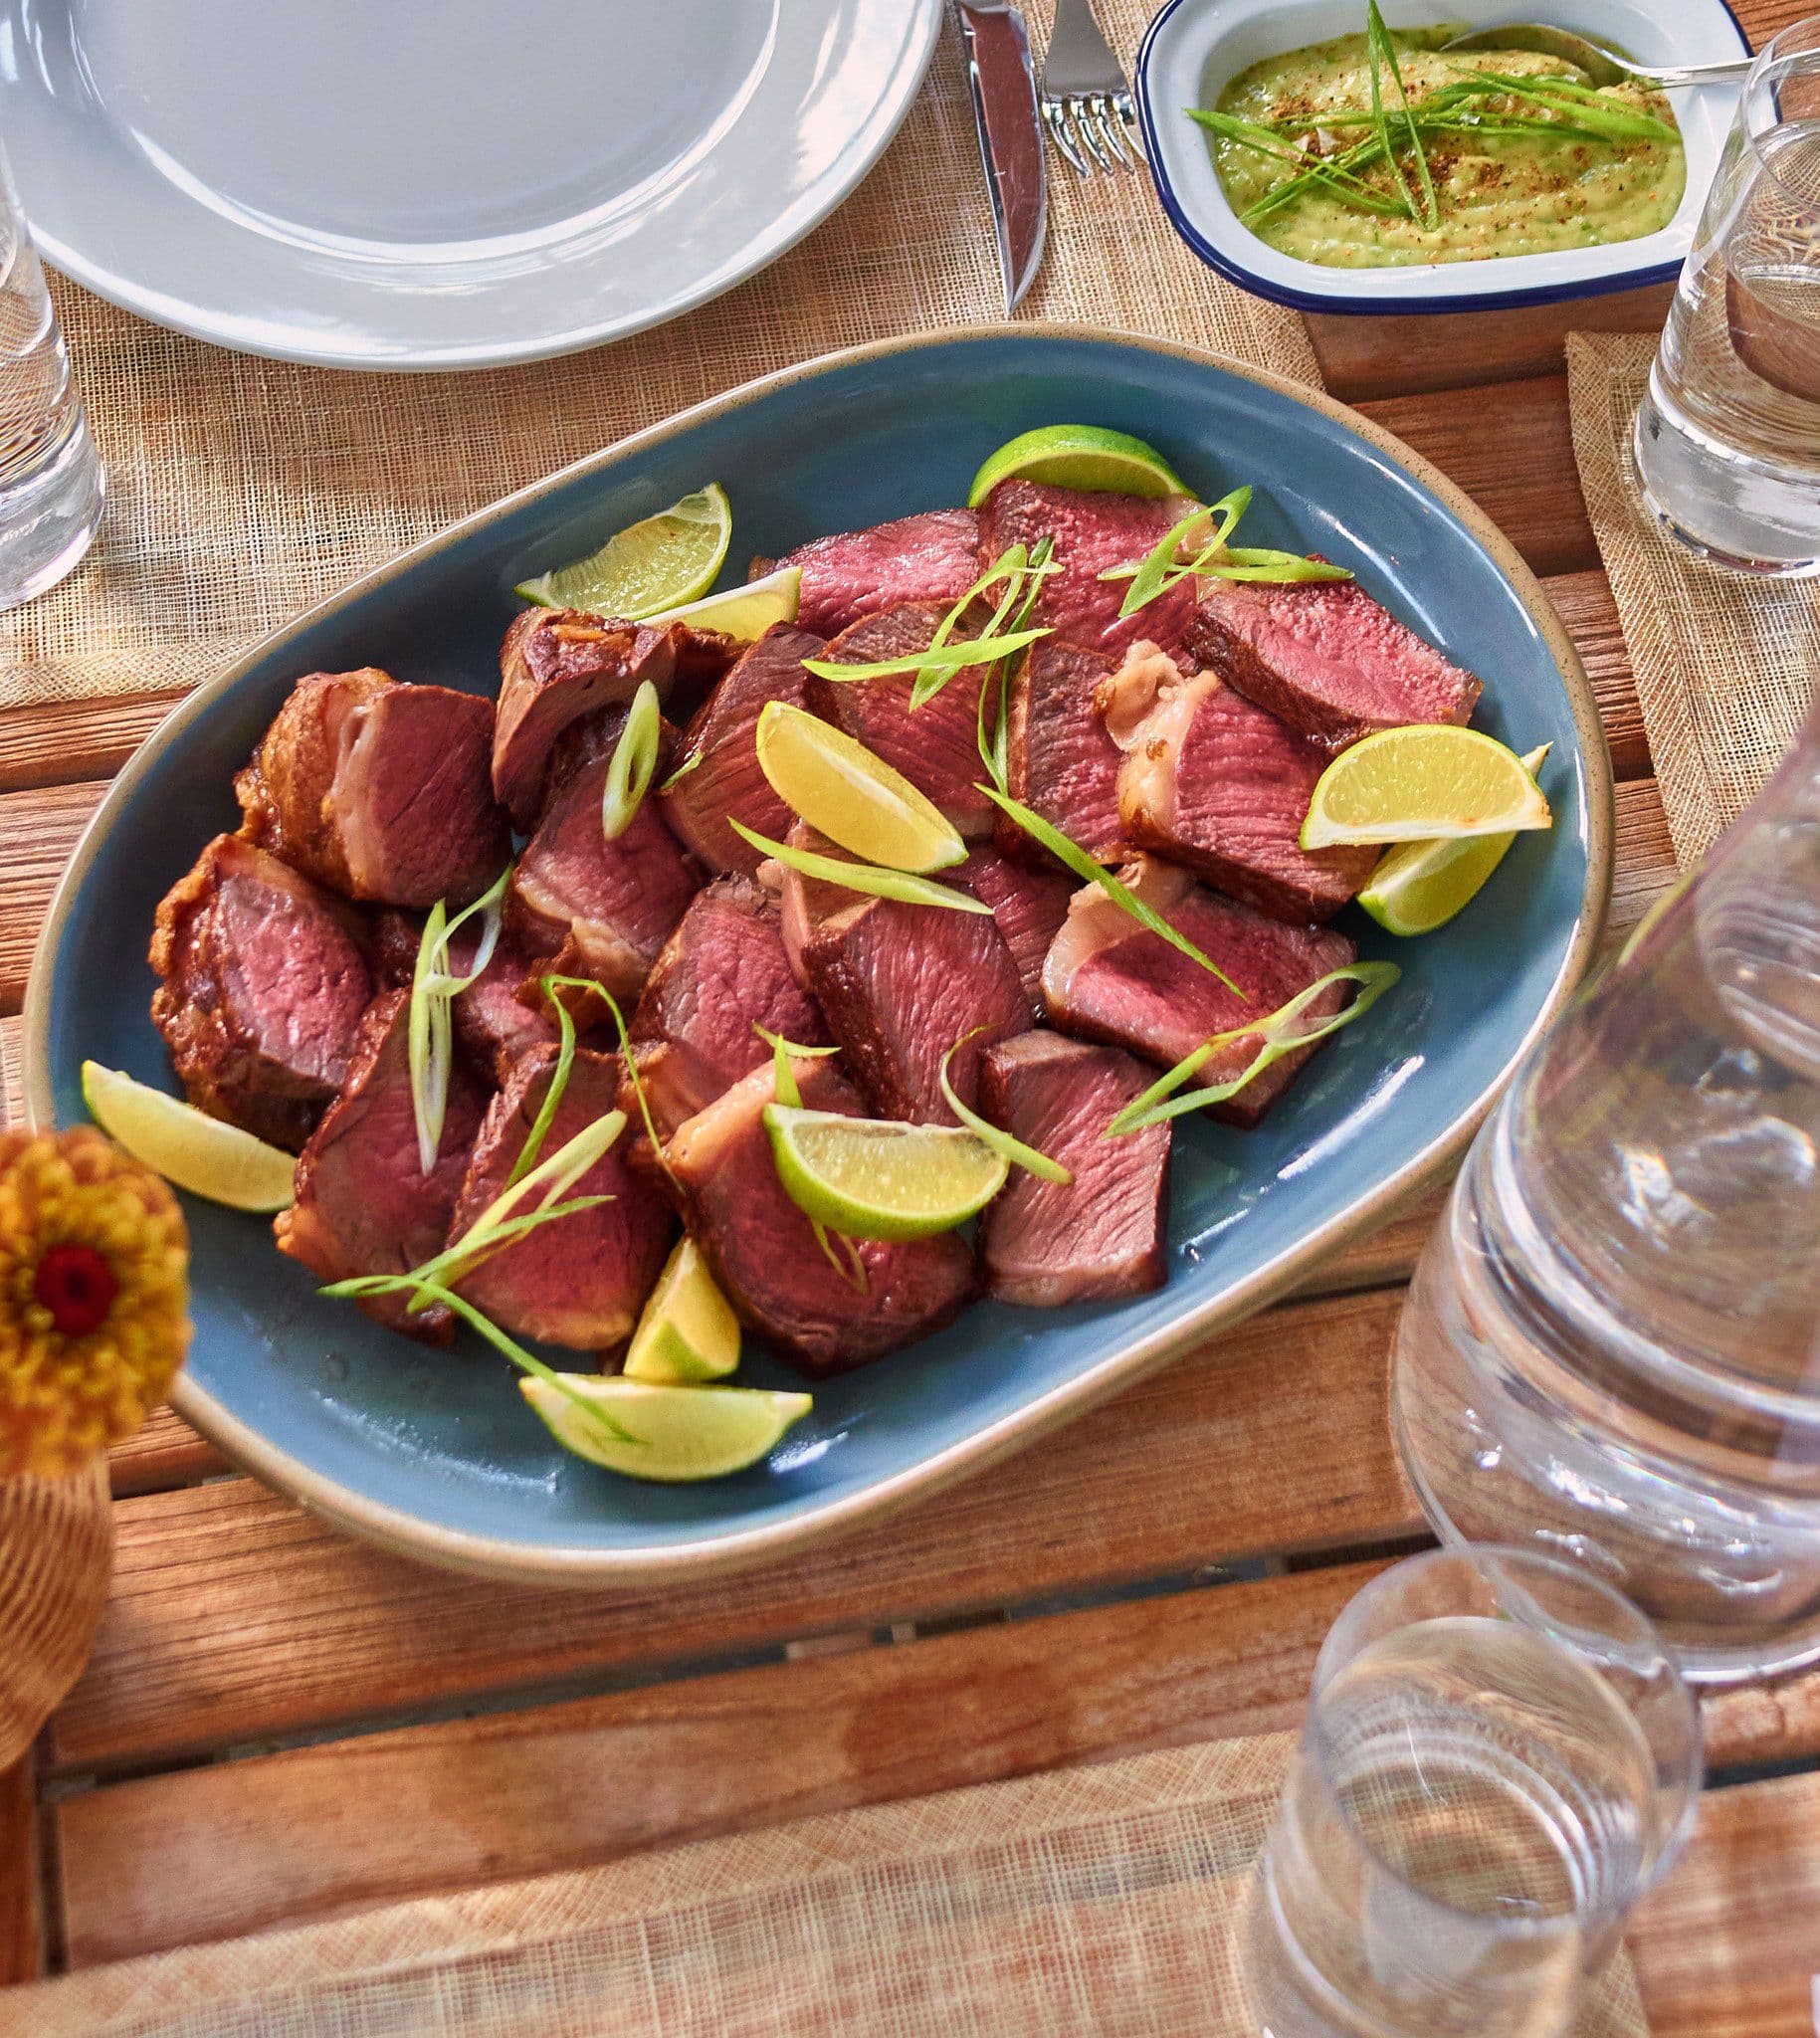
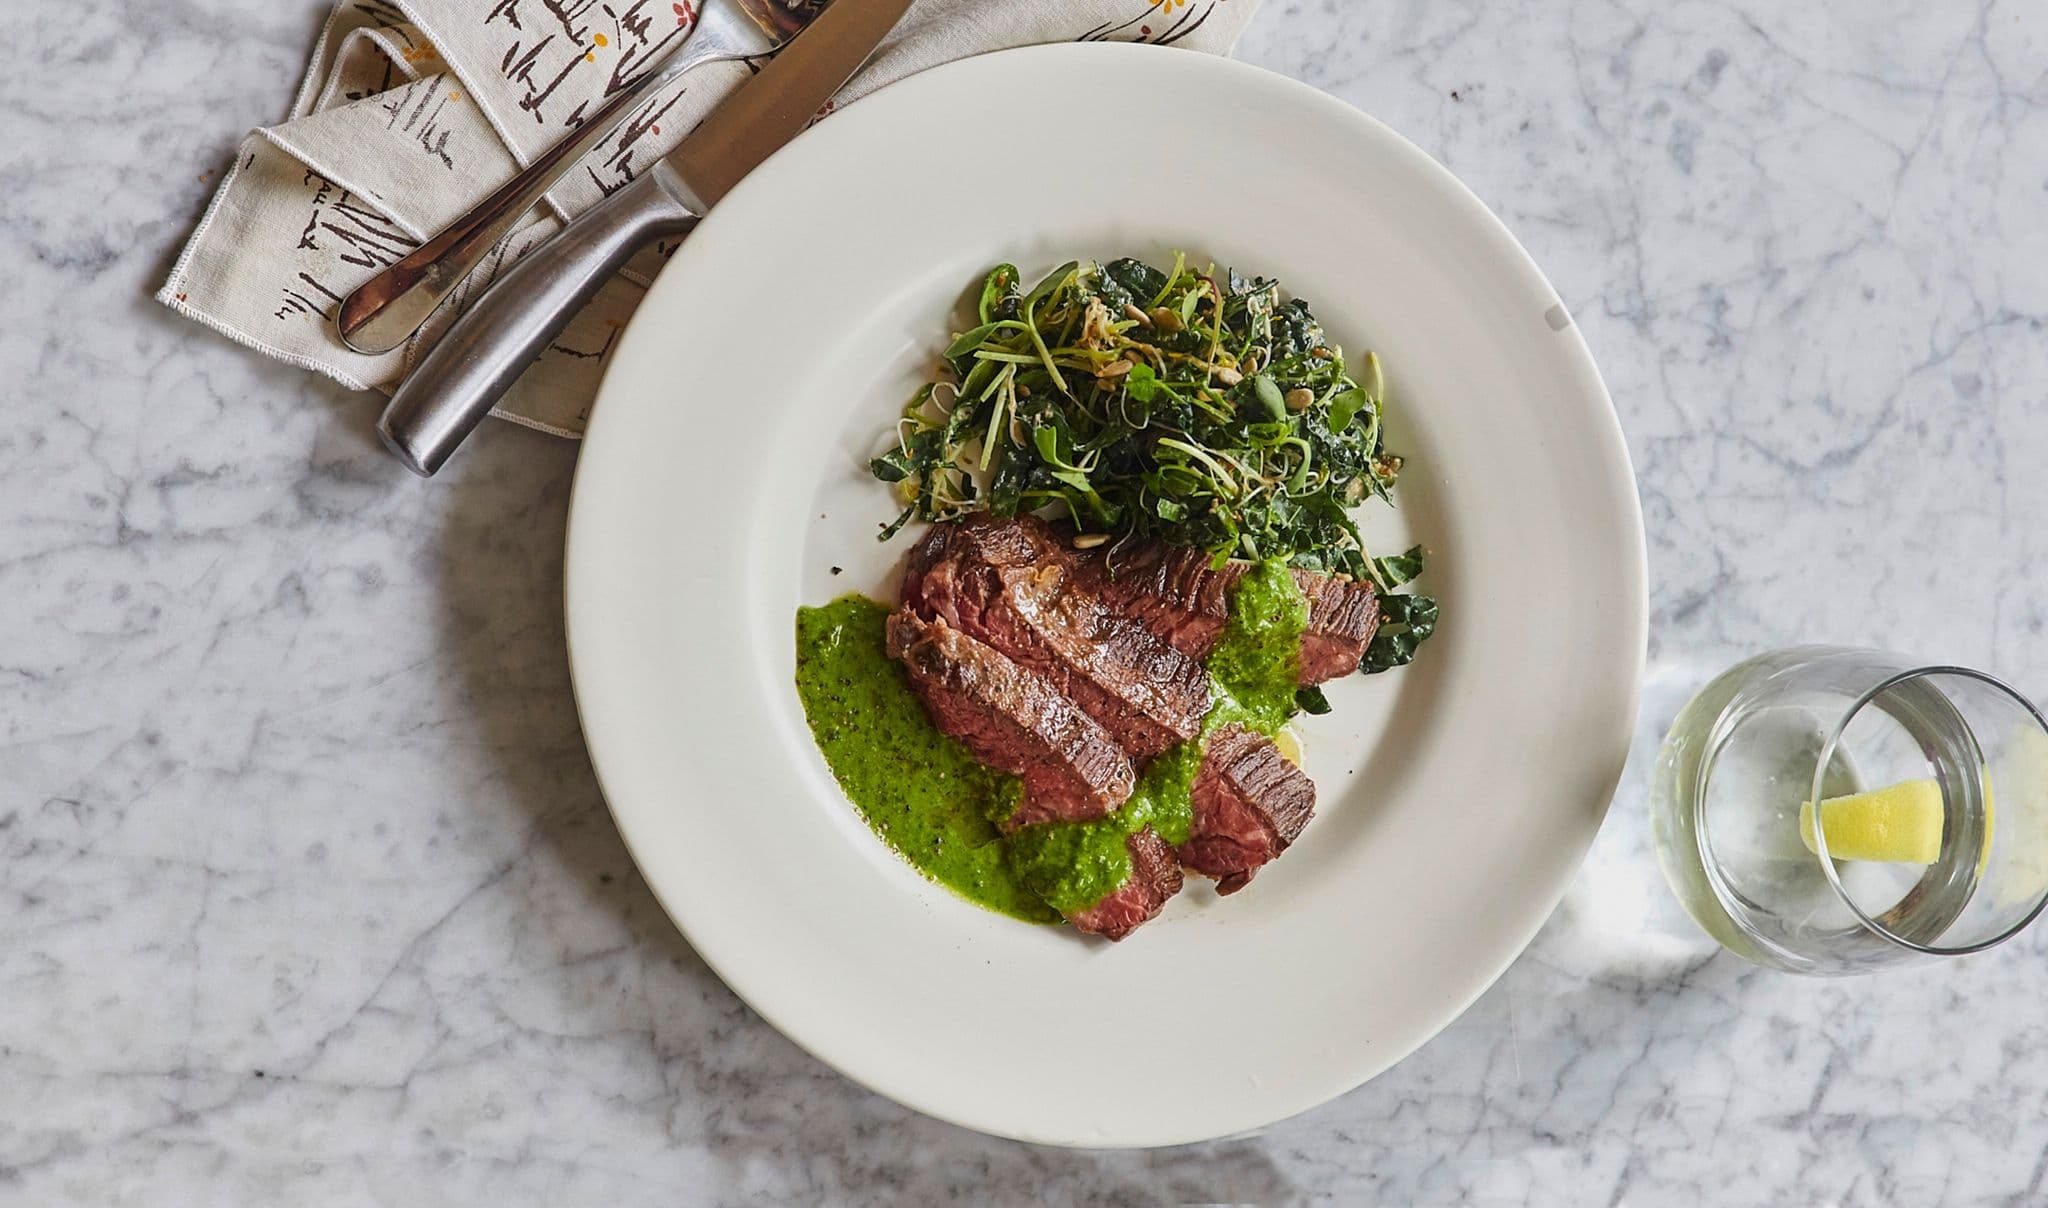
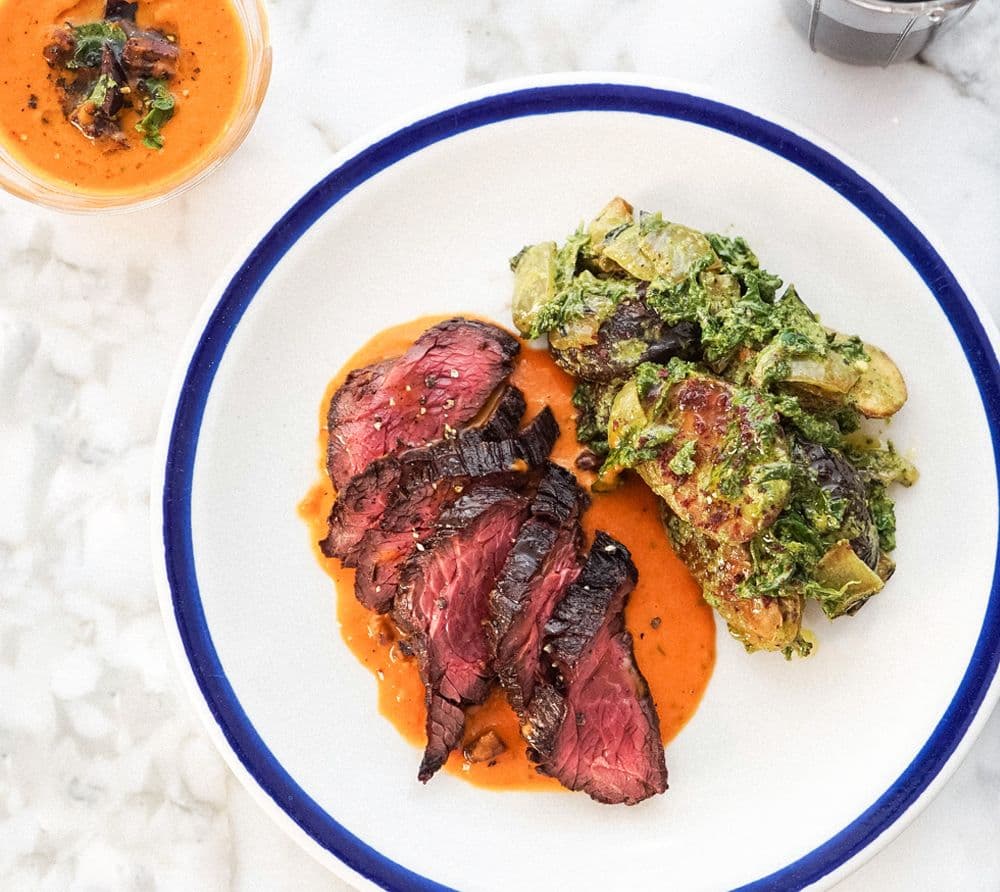
There are plenty of ways to cook a steak, but there’s only one way we swear by for most cuts, and that’s pan-searing. Grill-heads, we hear you, but think of all the drippings lost through fiery grates. Cooking steak in a pan ensures all that jus stays where it needs to be: with the steak. Drippings secured, pan-searing allows the steak’s entire surface to touch direct heat, leading to a fully caramelized (read: delicious) crust on all sides.

To learn the keys directly from a Culinista chef, book a cooking class.

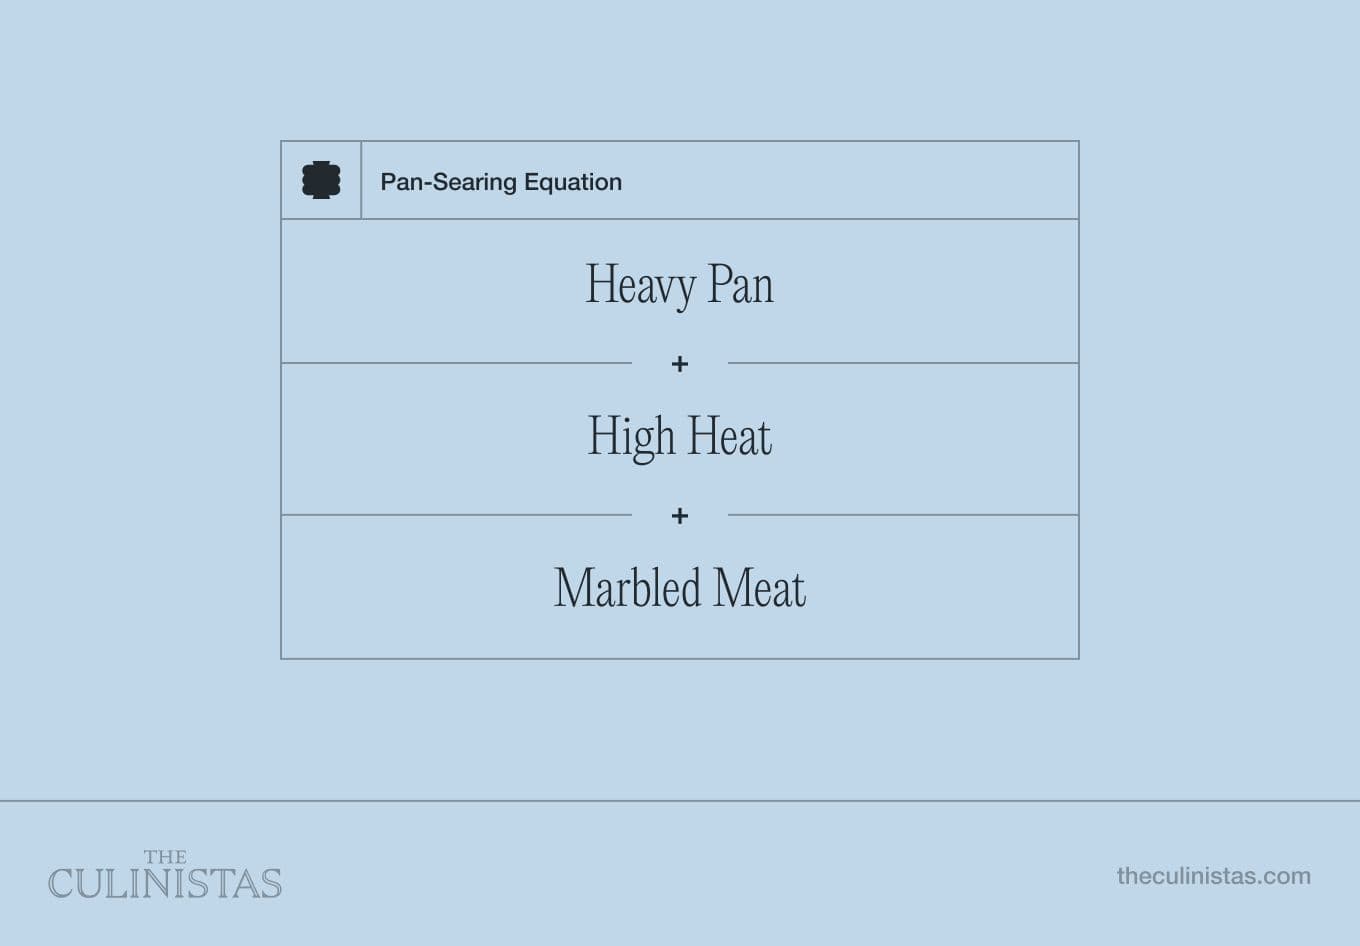
The Equation for Success:

Sear Steak Equation

Below, you’ll learn all the keys to searing success: which cuts of meat work best, other ingredients needed, internal cooking temperatures, equipment, and step-by-step cooking instructions.

Slicing Steak with Broccoli

Cuts of Meat

Just about any cut of beef branded “steak” can be pan-seared (stay away from other cuts like chuck roast, beef shanks, or brisket, whose tougher meat requires a long, low braise). That said, if you’re using a steak thicker than two inches, it’ll need a short time in the oven after searing. Cuts thinner than two inches will cook through just fine on the stovetop. Here are some of our favorite steaks:

Ribeye

This cut is well-marbled, which means it has a lot of fat running through it; this results in a juicy, flavorful steak. Use this cut when you want to spare no expense to impress guests!

New York Strip

This cut is leaner than ribeye, but still has enough marbling to provide a rich flavor. It has a firmer texture than ribeye and is often a bit thicker, making it easier to achieve the ideal medium rare internal temperature. Use this cut when you want to show off your searing skills.

Filet Mignon

This cut is very tender, with a mild flavor. Think red meat but without the umami, game-like taste that marbling brings. It's a great option for pan-searing if you prefer a leaner cut. Since it doesn’t offer intense flavor on its own, filet mignon benefits from the addition of spices or herbs. It’s excellent for guests who aren’t as familiar with red meat, or who like milder flavors.

Sirloin

This cut is leaner than the others so it is often not as tender. Searing it hot and fast is the best way to bring out its flavor without drying it out. Use this cut when you want red meat but are following a leaner diet.

Chef Tip

Marbling refers to the white lines of fat running through the steak; the more marbling, the more flavor and jus.
steak and salad
steak

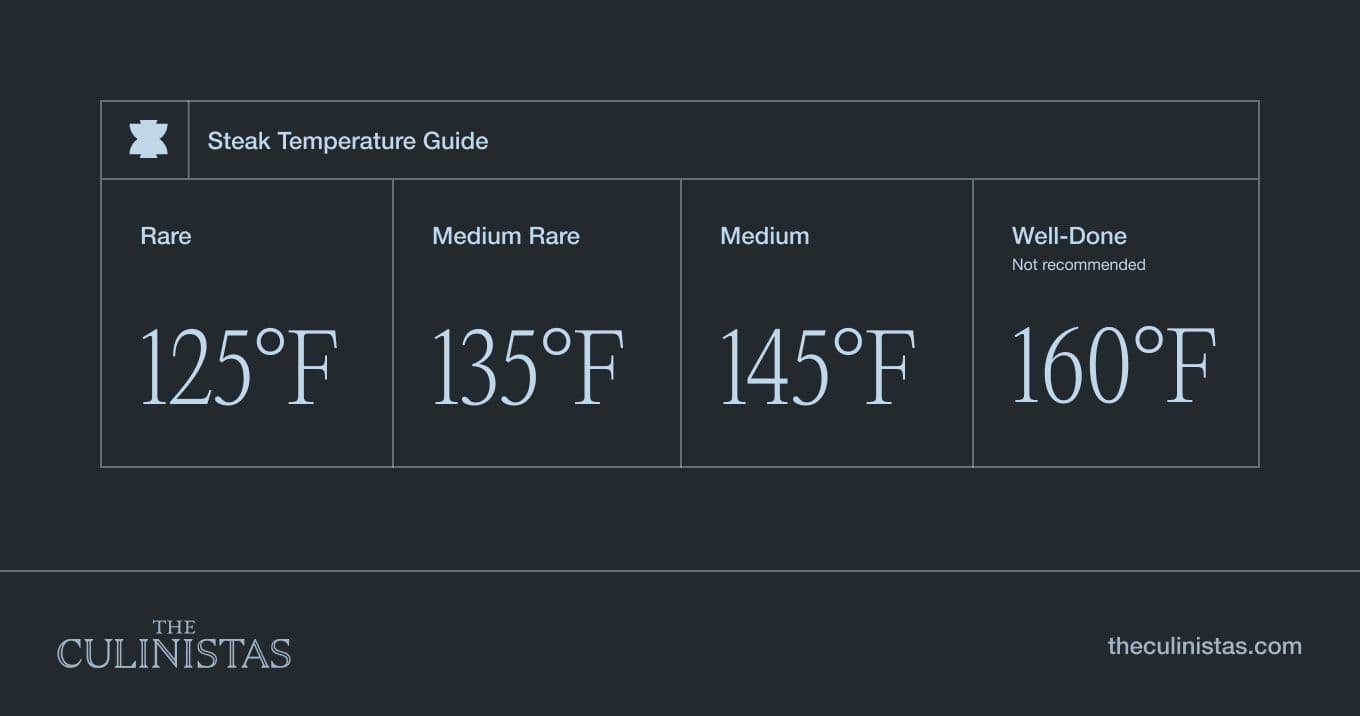
Internal Temperatures

Steak will continue to cook after it is off the heat, so it's best to remove it from the pan when it’s a few degrees under the desired temperature. We highly recommend using a meat thermometer when cooking steak because it’s the only way to accurately gauge the level of doneness.
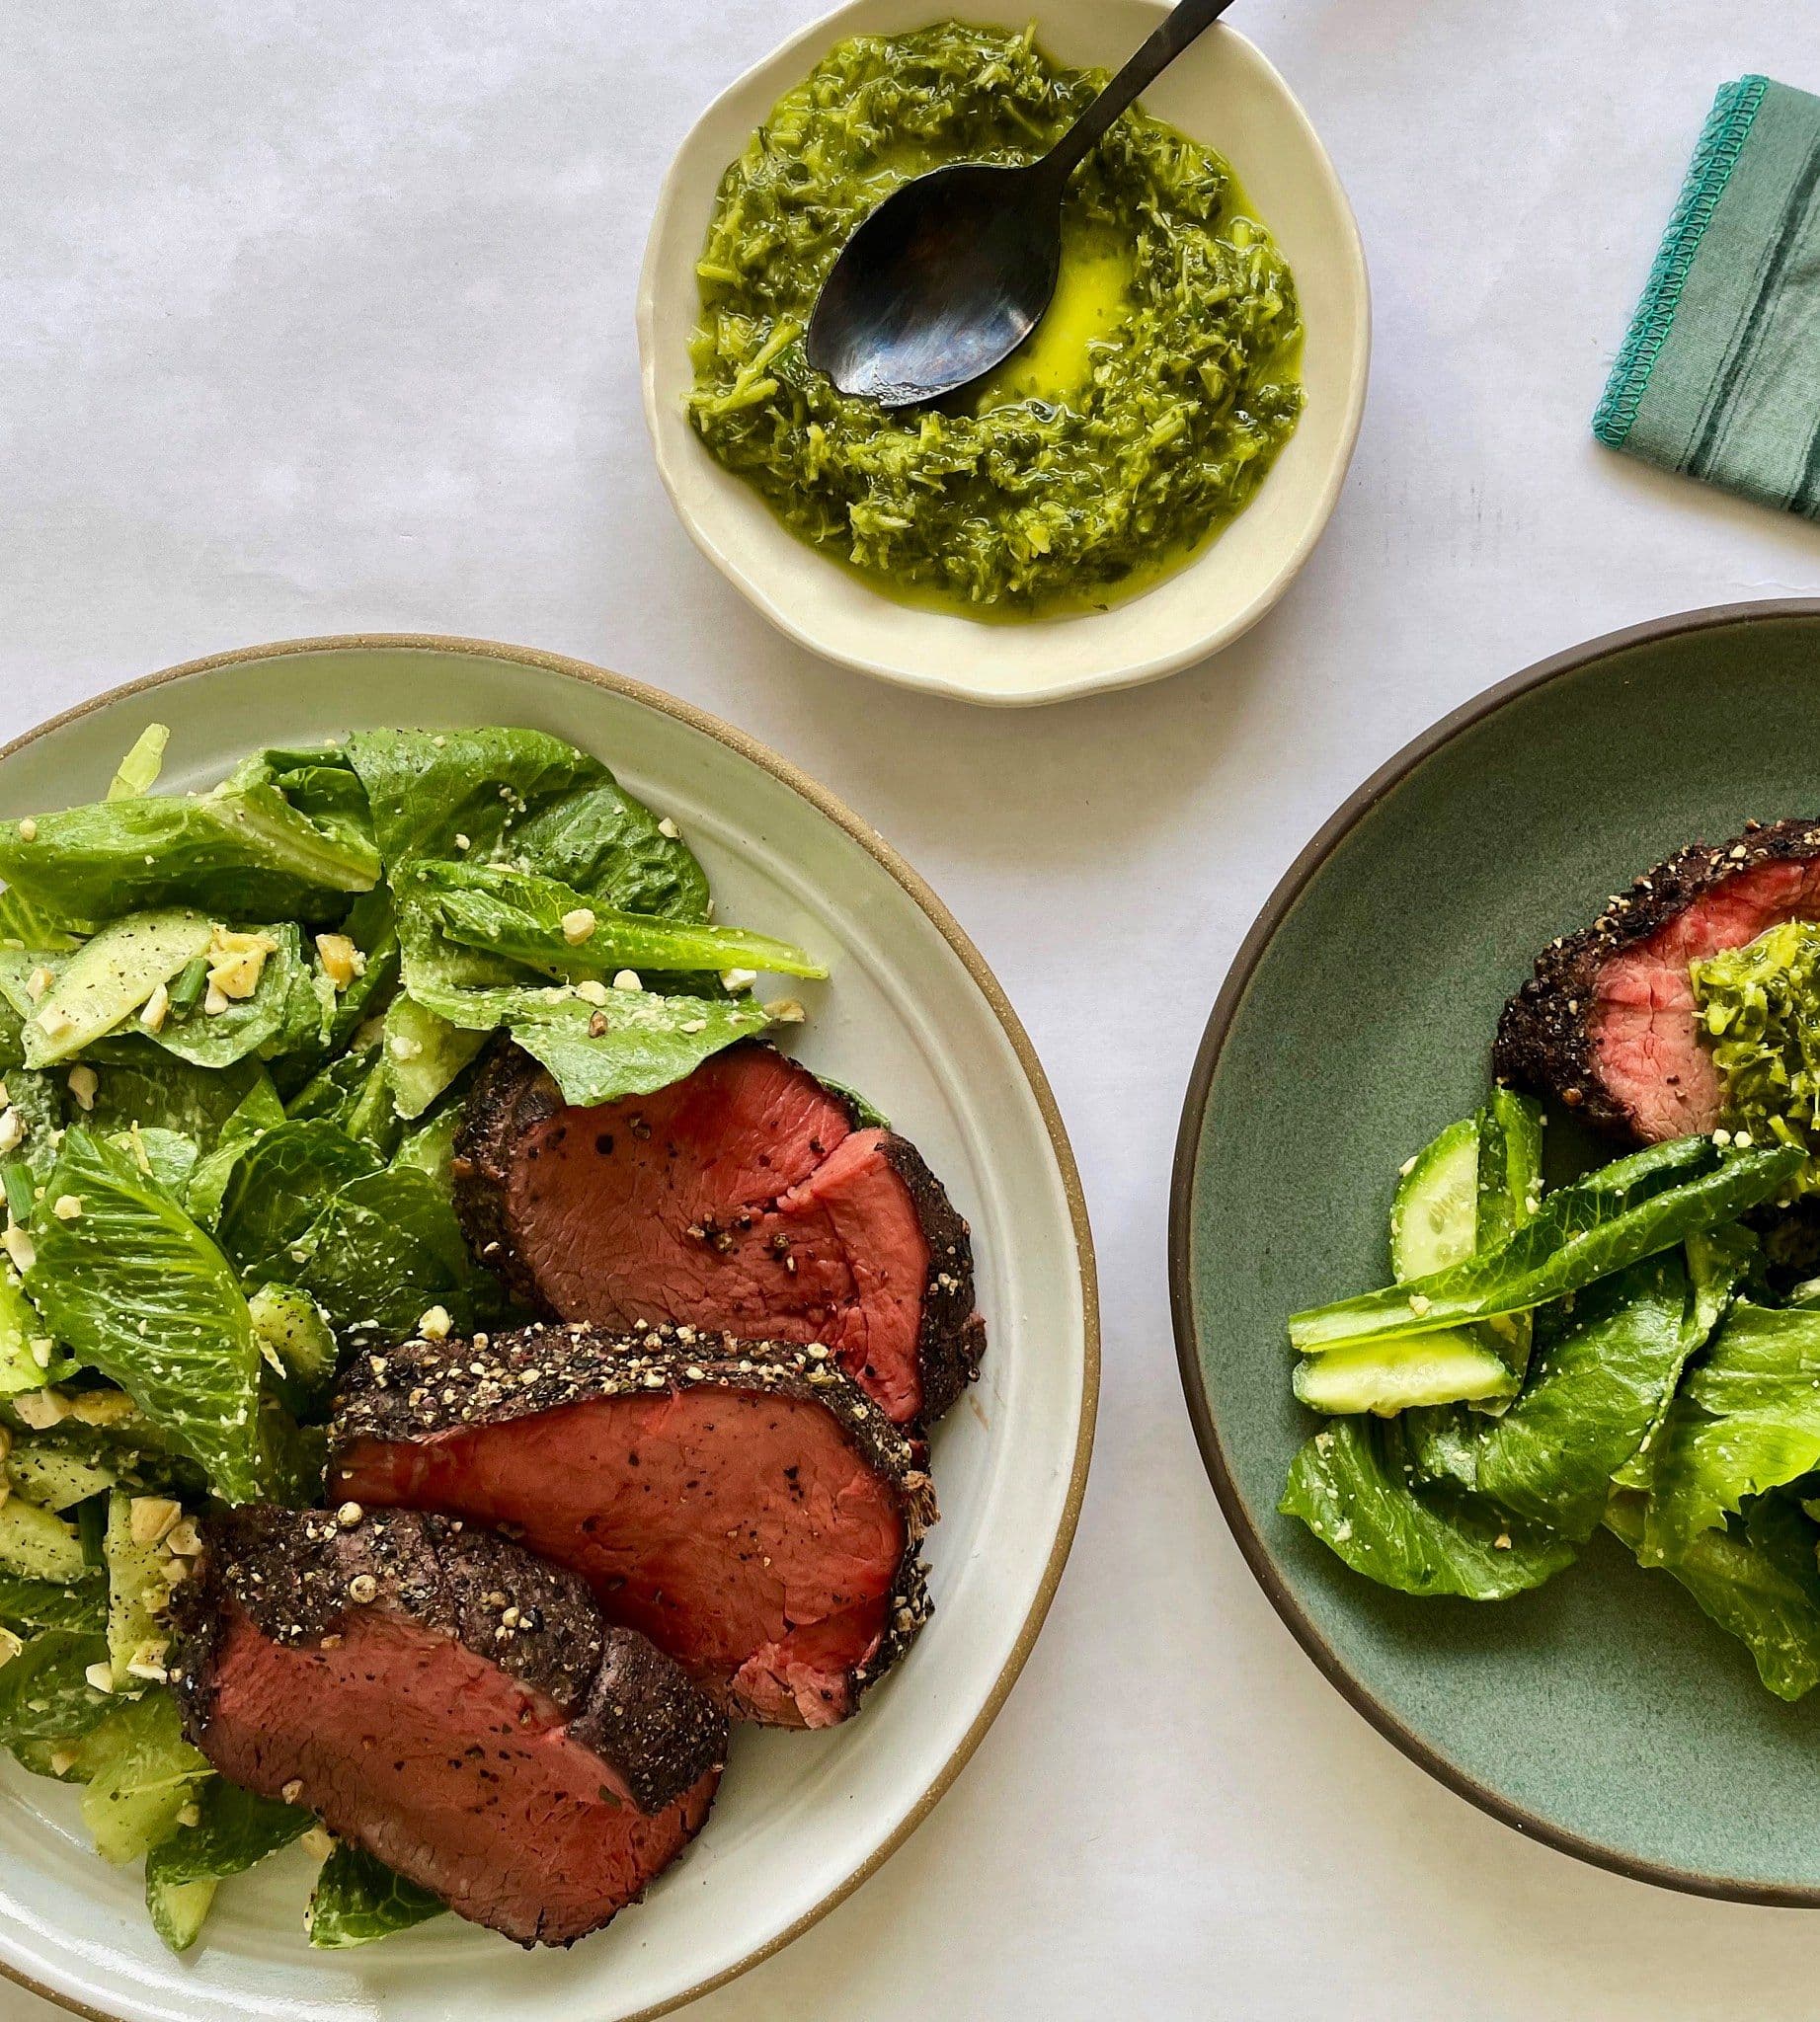
Steak Temp Charts

Ingredients

Essential Ingredients:

Steak

We suggest purchasing from a local butcher, who will prioritize premium cuts from reputable suppliers so you can be sure you’re taking home high-quality meat. Choose a cut with good marbling (see our recommended cuts above).

Salt

Salt is essential for bringing out the flavor of the steak. It also helps to create the crust on the outside of the steak when it’s seared.

Oil

A high-heat oil, such as grapeseed or sunflower, is essential. Like salt, it helps to create the crust on the outside of the steak and prevent your steak from sticking.

Flavor Boosting Ingredients:

Butter

Adding butter to the pan during the searing process can enhance the flavor of the steak and is used for basting (spooning the melted butter onto the exposed side of the steak while the other side is searing). This technique adds moisture and flavor, and it reconstitutes the natural juices released from the steak, keeping it from drying out.

Garlic

Adding garlic to the pan during the searing process infuses the steak with flavor. Smash a whole garlic clove before adding to the butter or oil in the pan.

Hard Stem Herbs

Add hard stem herbs to the pan during the searing process to add flavor and aroma to the steak. Hard stem herbs include herbs like thyme, rosemary, and sage, which can withstand high heat without burning or losing their flavor.

Type of Pan

It's important to use a heavy-bottomed pan and get it very hot before adding the meat. This will help to create a deeply caramelized crust on the outside while keeping the inside juicy and tender. Oven-safe pans made of cast iron and carbon steel work best because they are heavier-bottomed, but stainless steel can work, too; we like the selection from All Clad. Nonstick is not optimal for cooking steak because the pans are not designed to withstand the high temperatures necessary for cooking steak.
Steak & Green Sauce

Step By Step

  1. 1.

    Season the steak

    Pat the steak with a paper towel until dry, then season generously with salt on both sides. You should be able to see a thin layer of salt on the exterior of the steak when it is properly seasoned. Keep the pepper off the steak until plating because direct heat can burn pepper and result in a bitter taste.

  2. 2.

    Temper the steak

    Bringing meat to room temperature for about 30 minutes before cooking allows the steak to cook more evenly; when a steak is taken directly from the refrigerator and placed on a hot grill or pan, the exterior of the steak cooks faster than the interior. This can result in an unevenly cooked steak, with a well-done exterior and an undercooked center.

  3. 3.

    OPTIONAL

    Preheat the oven

    If using a cut thicker than 2 inches, preheat your oven to 425°F for later; steaks thinner than 2 inches will cook faster and not require time in the oven.

  4. 4.

    Heat the oil

    Heat your skillet over high heat. Once it’s hot, add 1-2 TB high-heat oil like grapeseed or avocado. The skillet must be hot enough that the oil shimmers and begins to smoke.

  5. 5.

    Sear the steak

    Add the steak to the skillet and cook for 3-4 minutes on each side until a crust forms.

  6. 6.

    OPTIONAL

    Add the butter & herbs

    Add a tablespoon of butter to the skillet and let it melt. Add garlic or herbs and baste the steak with the aromatic butter.

  7. 7.

    OPTIONAL

    Transfer to the oven

    If using a cut thicker than 2 inches, transfer the skillet to the preheated oven and cook for 5-10 minutes depending on the desired doneness. Use your meat thermometer to check the internal temperature of the steak at this point.

  8. 8.

    Rest the steak

    Remove the skillet from the oven and let the steak rest for 5-10 minutes before slicing. Resting the steak allows for its natural juices to redistribute throughout the meat.

Chef's Tip

Fat Cap: If using NY Strip, you can use the steak’s fat cap—the white layer of fat on top of the steak—as your cooking fat, instead of high-heat oil, in Step 4 above. Place the steak fat cap down, directly on the pan over medium heat and render until the cap is golden and crisp. Raise the heat and follow the remaining steps. Rest the steak with the fat cap up to keep the caramelized crusts exposed, so they do not lose their crisp.
Herbs: Instead of adding herbs directly to the pan, tie a few sprigs of each herb together with kitchen twine to create an herb brush. Periodically soak the brush with the jus from searing and brush the steak. When resting the steak, rest the herb brush directly on top.
Test

Cooking Class

Steak Night
Sign up for Recipes, Tips & Tricks